Посібник First Austria FA-5547-4 Пилосос

Потрібен посібник для вашого First Austria FA-5547-4 Пилосос? Нижче ви можете безкоштовно переглянути та завантажити посібник у форматі PDF українською мовою. Наразі цей продукт має 9 поширених запитання, 0 коментарів і 0 голосів. Якщо це не той посібник, який вам потрібен, будь ласка, зв’яжіться з нами.

Ваш товар несправний, а посібник не пропонує рішення? Перейдіть на Repair Café, щоб отримати безкоштовні послуги з ремонту.

Посібник

Loading…

2 3
IMPORTANT SAFETY INSTRUCTIONS
The safety of electrical appliances from FIRST Austria
complies with the recognized technical directives and
legal regulations for safety. Nevertheless, you and
the other users of the appliance should observe the
following:
Please read these instructions carefully before using
this appliance for the rst time and keep them for
further reference.
This product has not been designed for any other
uses than those specied in this manual.
Before connecting the appliance to the power
source, check if the voltage indicated on the
appliance corresponds with the mains voltage
in your home. If this is not the case, contact your
dealer and do not use the appliance.
If the appliance is grounded (protection class I),
the wall outlet and any extension to which it is
connected must also be grounded.
Do not let the cord touch hot surfaces.
Do not leave the unit in a place near a heat source
such as a radiator or air duct, or in a location
exposed to direct sunlight, excessive dust,
mechanical vibration, or shock.
Do not expose the unit to rain or other damp
conditions.
If the appliance or the power cord shows any signs
of damage, do not operate it! Take the product
to an authorized and qualied service center for
inspection or repair.
To protect from electrical hazard, do not immerse
this appliance or cordset in any liquids.
The power outlet must be easily accessible at
all times to ensure that the unit can be quickly
disconnected from the mains.
The ventilation openings must be kept free.
This device is intended for home use only, do not
use it commercially.
Do not use this appliance outdoors.
Do not leave the appliance unattended when
plugged into a power outlet.
Do not leave the appliance unattended while it is
operating.
Vacuuming the following objects is prohibited,
otherwise damage to the vacuum cleaner or
accidents involving personal injury may occur:
- any liquids
- large or sharp shards (broken glass...)
- ammable or explosive substances such as
gasoline or alcohol
- burning or glowing objects (cigarettes, matches or
hot ashes)
Never vacuum people and animals with the vacuum
cleaner.
Always disconnect the appliance from power
after use, before cleaning and in the event of a
malfunction.
Do not pull directly on the power cord, rather pull
on the plug to disconnect the appliance from the
power source.
The appliance can be used by children aged from
8 years and above and persons with reduced
physical, sensory or mental capabilities or lack
of experience and knowledge if they have been
given supervision or instruction concerning use
of the appliance in a safe way and understand the
hazards involved. Children shall not play with the
appliance. Cleaning and user maintenance shall not
be made by children unless they are older than 8
and supervised. Keep the appliance and its cord out
of reach of children less than 8 years.
We are excluded of liability for all damages that
may arise if the appliance is used for purposes
other than originally intended or if it is used
inappropriately.
Repairs and other work undertaken on the unit
must only be done by authorised specialist
personnel!
SCOPE OF DELIVERY
Vacuum cleaner
Universal oor brush
Crevice/brush nozzle
Telescopic tube
Instruction manual
PRODUCT OVERVIEW (see g. 1)
1. Universal oor brush
2. Crevice/brush nozzle
3. Telescopic tube
4. Airow regulator
5. Hose handle
6. Suction hose
7. Hose end
8. Dust container handle
9. Dust container release button
10. Cable rewind foot switch
11. ON/OFF foot switch
12. Power cable
13. Wheel
14. Air outlet lter (HEPA)
15. Air outlet cover
16. Air inlet lter (HEPA)
17. Filter basket
18. Dust container
19. Bottom lid of dust container
20. Latch (bottom lid)
21. Latch (top lid)
22. Top lid of dust container
ASSEMBLY
1. Connect the suction hose and the telescopic tube.
2. Adjust the telescopic tube to a suitable height by
pressing the locking button and pulling the tube
apart or pushing it together.
3. To connect the hose to the vacuum cleaner,
align the latching lug of the hose end
with the groove of the hose
connector, then push the hose
end in until it audibly snaps in
place.
4. To detach the hose, turn the hose end 90° in any
direction and pull it out.
5. Attach the desired cleaning accessory:
Universal oor brush
Position 1:
Brush extended
Position 2:
Brush retracted
Suitable for hard oors Suitable for carpets
Crevice/brush nozzle
For corners, edges or small spaces
OPERATION
1. Before use, make sure that the dust container is
inserted correctly.
2. Pull out the power cable until the yellow marking
becomes visible. If the red mark is visible, the cable
is completely unwound and further pulling may
damage the cable drum. Therefore, unwind the
cable carefully and slowly as soon as the yellow
marking can be seen.
3. Insert the power plug into the power outlet.
4. Press the ON/OFF foot switch to turn on the
vacuum cleaner.
5. To vacuum, pull or push the nozzle over the surface
to be cleaned.
6. If necessary, you can quickly reduce
the suction power by moving the
airow regulator on the hose handle.
This can be helpful when vacuuming
curtains. Slide it backwards to
reduce the suction power and
forwards to increase it.
7. After vacuuming, press the ON/OFF foot switch to
turn o the vacuum cleaner.
8. Unplug the power cord from the power outlet.
9. Press the cable rewind foot switch to wind up the
cord. Hold the cable with your hands while doing
this to prevent it from bouncing back and forth in
an uncontrolled manner.
CLEANING & MAINTENANCE
Your vacuum cleaner is quick and easy to clean and
maintain. Empty the dust container and clean the
lters regularly.
Before cleaning, make sure that the appliance is
switches o and has been disconnected from the
mains.
Never immerse the appliance or power cord in
water. Do not let the electrical parts come into
contact with moisture.
Do not use harsh or corrosive cleaners or solvents.
Clean the housing of the unit with a damp cloth
and then wipe it dry.
EMPTYING THE DUST CONTAINER (see g. 2)
Be careful not to inhale the dust when emptying, as
it could cause health problems or allergies.
Press the dust container release button and pull the
dust container upwards by the handle.
Open the latch of the bottom lid and empty the
dust container directly over a dustbin.
CLEANING THE AIR INLET / DUST FILTER (g. 3)
Do not operate the vacuum cleaner without a lter
or with a damaged lter, otherwise the vacuumed
dust will get into the room air and may cause health
problems or allergies. Replace a damaged lter
immediately.
Open the latch of the top lid and pull the lter
basket upwards out of the dust container.
Unlock the HEPA lter by turning it
counterclockwise. Pulling it out upwards.
Clean the lter basket from dust and rinse the HEPA
lter under running water. Then allow it to dry
completely.
Put the HEPA lter back into the lter basket and
lock it by turning it clockwise.
Place the lter basket back in the dust container.
Make sure that the latching lug of the lter basket is
aligned with the groove of the dust container.
CLEANING THE AIR OUTLET FILTER (g. 4)
The air outlet lter is located inside the wheel below
the ON/OFF foot switch.
Turn the air outlet cover clockwise to open it and
remove the HEPA lter.
In case of light soiling, it is sucient to tap out the
lter, in case of heavy soiling, clean the lter under
running water. Allow the lter to dry completely
before reinserting it.
Place the lter back into the unit and close the air
outlet cover by turning it counterclockwise until it
audibly snaps into place.
ENGLISH
ENGLISH
Завантажити посібник українською мовою (PDF, 0.74 MB)
(Бережіть природу: роздрукуйте цей посібник лише у випадку, коли це дійсно необхідно)

Loading…

Рейтинг

Дайте нам знати, що ви думаєте про First Austria FA-5547-4 Пилосос, залишивши рейтинг продукту. Хочете поділитися своїм досвідом щодо цього продукту або задати запитання? Будь ласка, залиште коментар внизу сторінки.
Ви задоволені First Austria FA-5547-4 Пилосос?
Так Ні
Оцініть цей товар першим
0 голоси

Приєднуйтесь до розмови про цей продукт

Тут ви можете поділитися своєю думкою про First Austria FA-5547-4 Пилосос. Якщо у вас є питання, спочатку уважно прочитайте інструкцію. Запит на інструкцію можна зробити за допомогою нашої контактної форми.

Детальніше про цей посібник

Ми розуміємо, що добре мати паперовий посібник для вашого First Austria FA-5547-4 Пилосос. Ви завжди можете завантажити посібник з нашого сайту та роздрукувати самостійно. Якщо ви бажаєте отримати оригінальний посібник, радимо зв’язатися з First Austria. Вони можуть надати оригінальний посібник. Шукаєте інструкцію до свого First Austria FA-5547-4 Пилосос іншою мовою? Виберіть потрібну мову на нашій домашній сторінці та знайдіть номер моделі, щоб дізнатися, чи є вона у нас.

Технічні характеристики

Бренд First Austria
Модель FA-5547-4
Категорія Пилососи
Тип файлу PDF
Розмір файлу 0.74 MB

Усі посібники для First Austria Пилососи
Більше посібників для Пилососи

Часті запитання про First Austria FA-5547-4 Пилосос

Наша служба підтримки шукає корисну інформацію про товар і відповідає на поширені запитання. Якщо ви знайдете неточність у наших запитаннях та відповідях, повідомте нас про це, скориставшись контактною формою.

Шланг мого пилососа засмічений, що я можу зробити? Підтверджено

Від'єднайте шланг і перегляньте його, щоб визначити, чи він насправді засмічений. У цьому випадку ви можете взяти довгий предмет, такий як мітла, і обережно просунути його через шланг. Це, як правило, видаляє будь-які предмети, що засмічують шланг. Якщо це не допомогло, зверніться до виробника.

Це було корисно (1661) Читати далі

Яких розмірів є пилозбірник? Підтверджено

Є два розміри, які потрібно враховувати. Перший - це розмір тарілки із входом в сумку. Це визначає, чи підійде мішок для пилу до певного пилососа. Тоді є розмір мішка. Це в основному вказується в літрах і визначає, скільки пилу може містити мішок.

Це було корисно (1207) Читати далі

Шнур живлення мого пилососа не перемотується назад у пристрій, що я можу зробити? Підтверджено

Можливо, шнур має скручування або складку. Повністю розгорніть шнур кілька разів і перемотайте його назад у пристрій під керівництвом рук. Якщо це не вирішить проблему, можливо, механізм перемотування шнура порушений. У такому випадку зверніться до виробника або до сервісної служби.
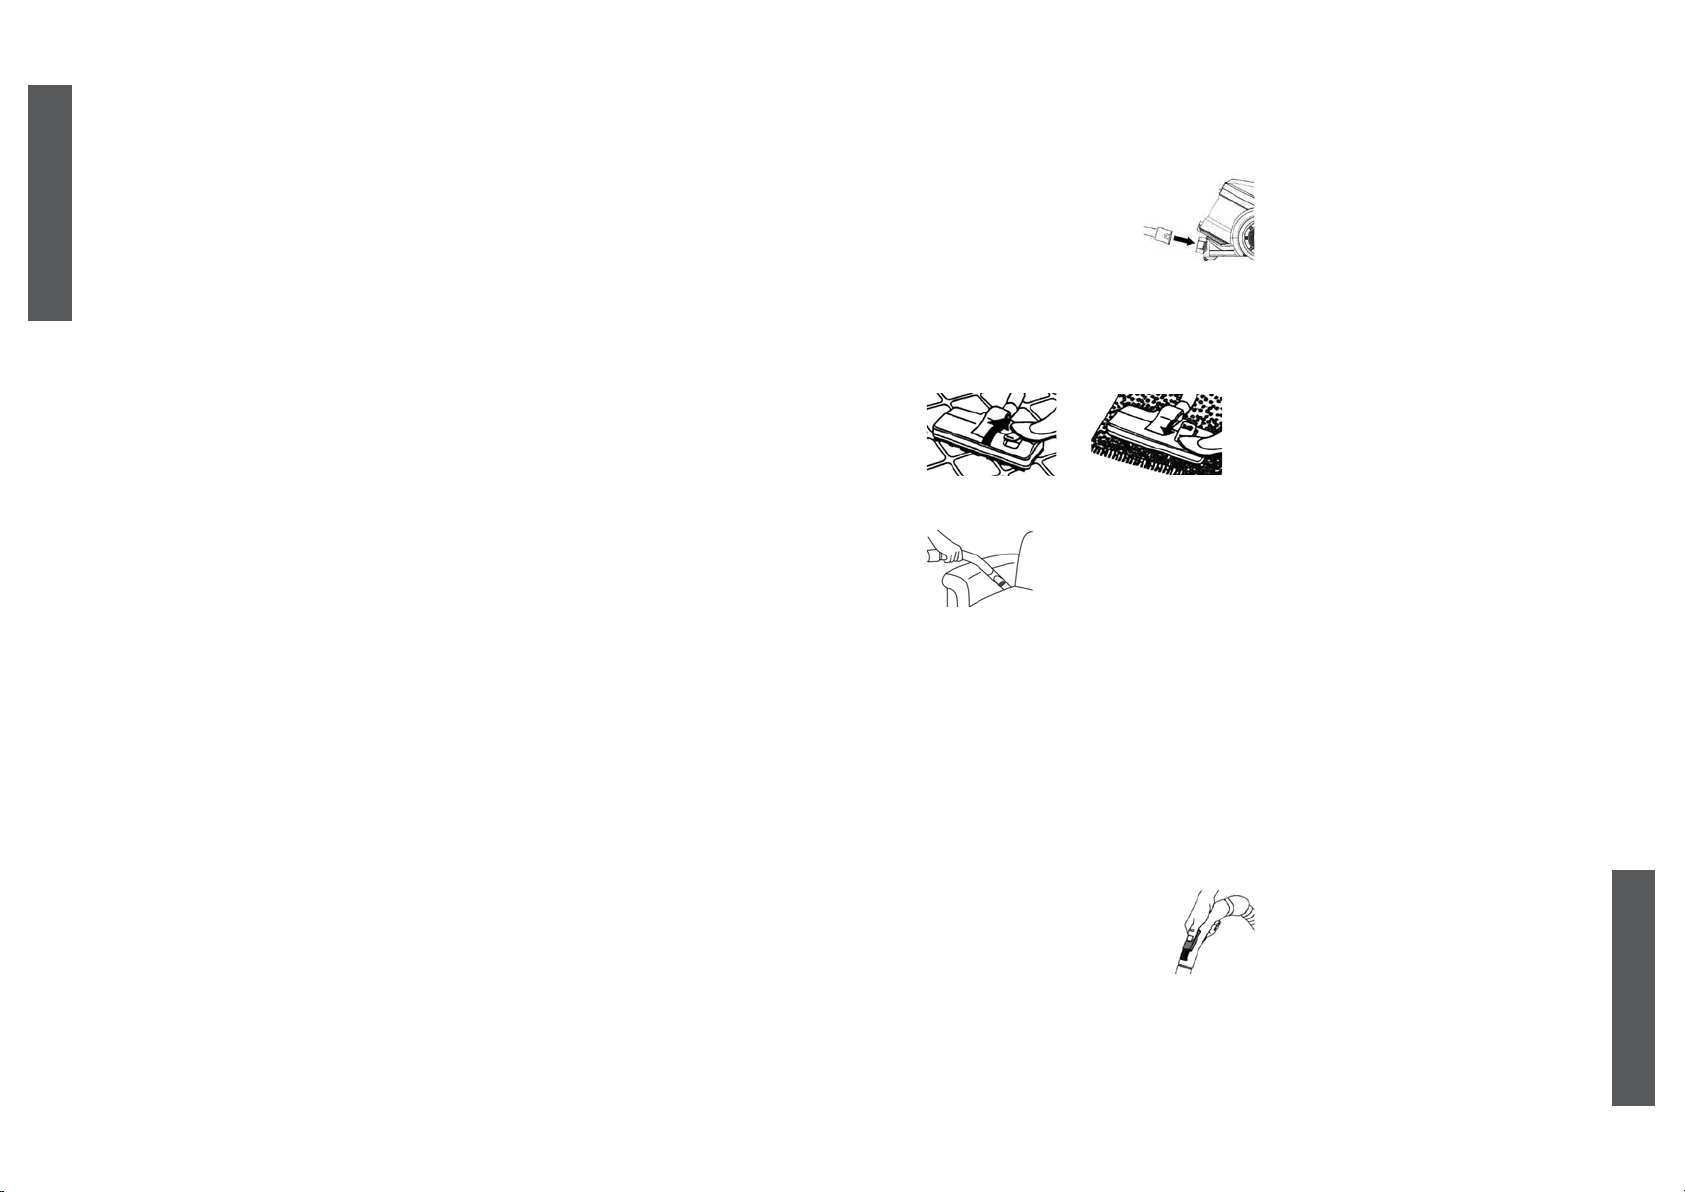
Це було корисно (857) Читати далі

Як видалити пил і волосся з головки щітки пилососа? Підтверджено

Видалення пилу та волосся з головки щітки пилососа проводилося вручну. Якщо це не вдається за бажанням, можна скористатися тонкою гребінцем для видалення залишків бруду.

Це було корисно (754) Читати далі

Мій пилосос видає свист, що я можу зробити? Підтверджено

Цю проблему часто спричиняє повний мішок для сміття або фільтр або отвір, який пропускає повітря в шланг. Перевірте пилозбірник та фільтр та за потреби замініть їх. Перевірте шланг на наявність отворів або пошкоджених з'єднань. Якщо це не допомогло вирішити проблему, зверніться до виробника.

Це було корисно (726) Читати далі

Яке налаштування на головці щітки пилососа слід використовувати? Підтверджено

Майже всі пилососи мають головку з регульованою щіткою. Використовуйте щітку для твердих поверхонь, щоб запобігти подряпинам та пошкодженням. Вимкніть щітку для килимових покриттів і килимів.

Це було корисно (572) Читати далі

Чи можу я користуватися паперовим мішком для пилу більше одного разу? Підтверджено

Це недоцільно. Пори сумки будуть насичуватися, спричиняючи втрату всмоктування та, можливо, пошкодження двигуна.

Це було корисно (376) Читати далі

Що таке HEPA? Підтверджено

HEPA розшифровується як високоефективне тверде повітря. Багато пилососів мають HEPA-фільтр. HEPA-фільтр зупинить щонайменше 85% і не більше 99,999995% усіх частинок 0,3 мікрометра (мкм) і вище.

Це було корисно (367) Читати далі

Чи можу я використовувати звичайний пилосос для всмоктування попелу? Підтверджено

Ні, це абсолютно неможливо. Попіл, який здається охолодженим, все ще може бути теплим або навіть гарячим всередині. Звичайний пилосос для цього не призначений і може спричинити пожежу. Крім того, фільтри звичайних пилососів не завжди підходять для утримання надзвичайно дрібних частинок, таких як зола. Потім він може дійти до двигуна пилососа та спричинити пошкодження.

Це було корисно (367) Читати далі
Посібник First Austria FA-5547-4 Пилосос

Супутні товари

Пов'язані категорії

×
Download